Staining an Antique and Classic Wood Boat
Staining – It is the most important aspect of refinishing. Sometimes the hull and/or deck planks do not match color wise and special attention is needed prior to application of the filler stain to achieve a good overall color.
Pre-Staining
Quite often, new or replacement planks are lighter in color than the surrounding wood or original wood. Also, once the finish has been removed you can find big differences in wood colors from past plank replacement. Here are a couple of techniques that usually work for me.
If the color difference isn’t significant this 1st option sometimes will work: After sanding and fairing the area with 60 grit followed by 80 grit and no more than 100 grit, re-sand the lighter wood with 60 grit then stain the boat. The coarser sanding allows more of the filler stain into the grain resulting in a darker plank.
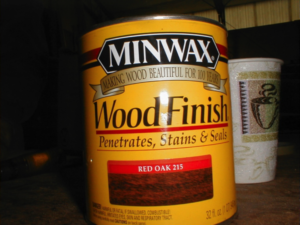
Often, the difference is too great for the first suggestion. Then we must get more aggressive with the coloring of the lighter plank. After sanding and fairing the area, tape off the lighter plank/wood. Now apply a coat of Minwax Red Oak #215.
This process is done using a chip brush and wiping off with an absorbent rag. Old t-shirts work well for this. The degree of darkening the wood is determined by length of time the stain is on before wiping off.
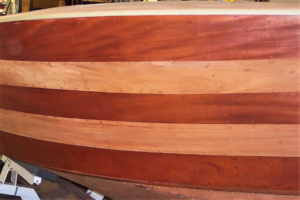
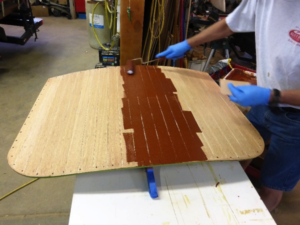
This is a rear deck king plank that was replaced. The new wood is much lighter and needs to be “aged” prior to filler stain being applied.

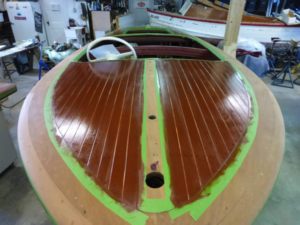
The new wood was taped off then stained with the MINWAX Red Oak Stain.
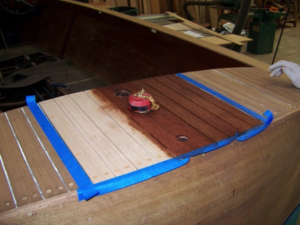
Immediately remove the tape and apply the filler stain. The colors will blend then. I like to refer to this technique as “instant aging”. Now finish as usual
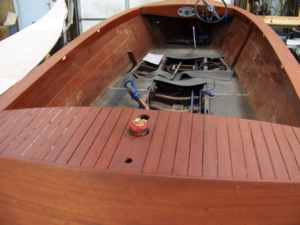
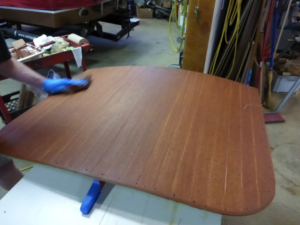
Finished deck. You can’t tell the new wood from the surrounding original wood.
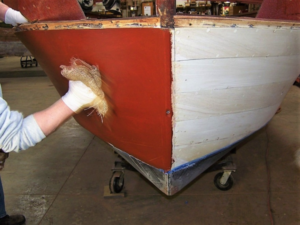
New planks on the sides are much lighter in color.

The new wood was taped off then stained with the MINWAX Red Oak Stain.
Immediately remove the tape and apply the filler stain. The colors will blend then. I like to refer to this technique as “instant aging”. Now finish as usual

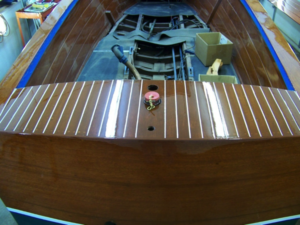
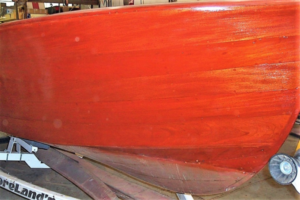
Now the varnish is going on and you can’t tell the new wood from the original wood.
Applying Filler Stain
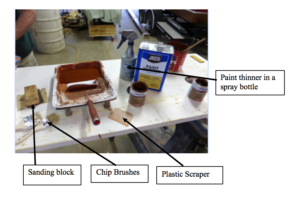
Mix the filler/stain to a consistency of a very thin paint. Apply to the wood with a brush or roller. I like to use a 6” roller and a 2″ or 3” chip brush. Spread the stain before it can dry by wiping with a plastic scraper.
This is what we have ready when we start staining. We always have a sanding block with 60 grit at hand to remove any scratches or swirl marks the appear when the stain is applied.
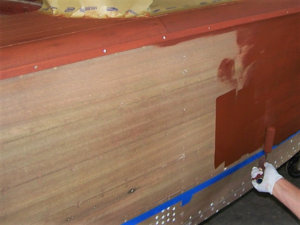
Hull side staining
A plastic scraper forces the stain into the grain and reduces the amount of waste. Bondo scrapers work well for this process. Follow this with burlap. First rub in a circular motion to fill in the grain, then using another piece of burlap finish rubbing with the grain. DO NOT ALLOW THE STAIN TO DRY BEFORE WIPING. It is helpful to have a spray bottle with paint thinner in it close by. If the stain is too thick or dries, spray some thinner on the burlap (NOT ON THE WOOD!!) and rub it out. Spraying thinner on the wood can cause runs.
Stain being rolled on
Plastic scraper being used to spread the stain and force it into the grain
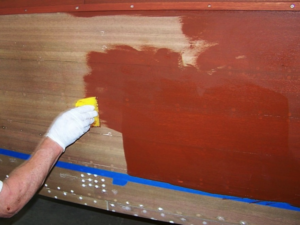
Burlap being used to rub in the stain and remove the excess stain.
Deck and hatch staining
Stain being rolled on
Plastic scraper being used to spread the stain and force it into the grain.
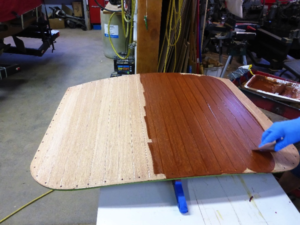
Burlap being used to rub in the stain and remove the excess stain. When two-tone staining, tape off the area to be stained lighter and stain that area first.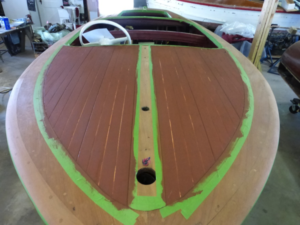
Apply two coats of sealer then stain the darker wood. This way if any of the darker stain splatters onto the lighter stain it can be easily wiped off.
II. Sealing- Follow staining with at least two coats of sealer. I will LIGHTLY sand with 220 grit or a Scotch Brite pad. I just want to break down the gloss for adhesion with the next coat.


Recent Comments